“Finding Depth: How to Master Layering in Photography for Richer Compositions”
Creating depth in photography is an art that transforms an image from a simple snapshot into a story, immersing viewers in the scene. Layering is one of the most effective techniques to achieve this depth, adding visual richness and guiding the viewer’s eye naturally from foreground to background. If you’re aiming to master the technique of layering, here are some essential steps to create dynamic compositions that truly stand out.
1. Work with Foreground, Middleground, and Background
Layering begins with structuring your image into distinct planes: the foreground, middleground, and background. Each layer should add interest and context, creating a visual journey through the photo. A strong foreground, for example, could be a textured rock, while the middleground might showcase a main subject like a person or animal, and the background may hold the landscape or skyline.
Pro Tip: Choose elements for each layer that are connected in some way, whether through color, shape, or thematic context. This cohesion allows the viewer’s eye to flow seamlessly through the scene.
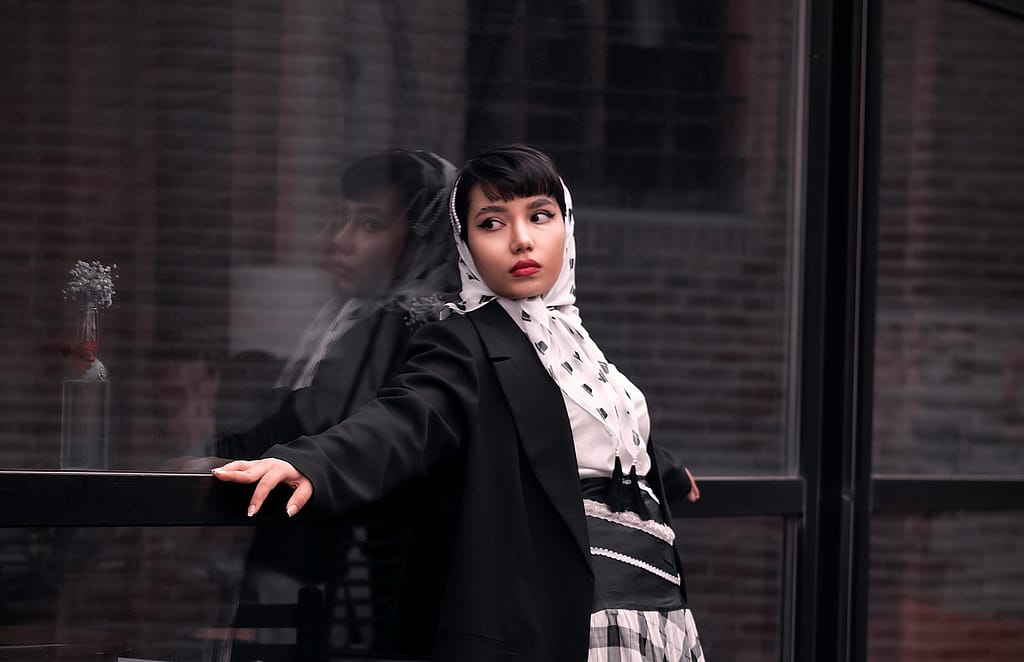
2. Use Natural Frames
Framing is an excellent way to create layers and enhance depth. Look for natural elements like tree branches, doorways, or windows that can frame your subject. These frames provide a sense of scale and direct attention to the focal point within the composition. Natural frames can also add a touch of storytelling, hinting at the setting and adding a subtle narrative to the image.
Pro Tip: Position the frame in the foreground for a more immersive effect, which will give the viewer the sensation of looking into the scene rather than just at it.
3. Incorporate Leading Lines
Leading lines naturally guide the viewer’s eye from one part of the image to another, making them ideal for creating layered depth. Paths, roads, rivers, and even shadows can serve as leading lines that pull the viewer from foreground to background. Leading lines also add a sense of perspective, helping to establish distance and scale within the image.
Pro Tip: Experiment with diagonal or winding lines for a dynamic, layered effect. Diagonal lines can add energy and movement, while curves create a gentler flow.
4. Play with Depth of Field
One of the easiest ways to create layers is by manipulating depth of field. A shallow depth of field keeps the subject in sharp focus while softly blurring the background, emphasizing each layer distinctly. Conversely, a deep depth of field captures more detail across the entire image, which can be especially effective in landscape photography.
Pro Tip: Try varying your depth of field depending on the story you want to tell. For an intimate portrait, use a narrow depth of field to isolate your subject. For a sweeping landscape, opt for a wide aperture to capture details across layers.
5. Experiment with Perspective
Changing your perspective—whether by shooting from a high angle, ground level, or from an unusual side angle—can reveal new layering opportunities and create a greater sense of depth. Shooting from a low angle, for example, can add drama by making foreground elements larger and more impactful. This shift in scale naturally emphasizes layers, creating a sense of grandeur or immersion.
Pro Tip: Don’t be afraid to get close to your foreground element, such as shooting from a low angle to emphasize a flower or leaf, which will instantly add depth by leading into the background scene.
6. Focus on Texture and Contrast
Using texture and contrast is an effective way to build layers that appeal to the sense of touch as much as the eye. A layered photo with contrasting textures—like smooth water in the foreground against rugged mountains in the background—can evoke different sensory reactions. Similarly, high contrast between layers helps to distinguish each one, making them pop visually.
Pro Tip: Look for textural contrasts between layers, such as rough textures against smooth surfaces or bright tones against darker ones. These contrasts will enhance the sense of separation and depth.
7. Add Elements Gradually
Layering doesn’t mean filling the frame with as many elements as possible. Instead, it’s about thoughtfully placing each component. Try adding one layer at a time, ensuring each element contributes to the story or emotion you want to convey. In minimalist compositions, fewer but more impactful layers can create a sense of depth and intentionality without overcrowding the image.
Pro Tip: Use a “less is more” approach—sometimes, a well-placed foreground and background are all you need to establish depth. Choose elements that support each other rather than compete for attention.
8. Capture Atmosphere for Added Depth
Atmospheric effects like fog, mist, rain, or haze add a sense of depth that layering alone might not achieve. For instance, fog can obscure parts of the background, making the subject in the foreground stand out even more. Weather conditions naturally introduce layers and can transform the entire mood of a photo, adding an ethereal quality that draws viewers in.
Pro Tip: Make use of the golden hour or early morning light when atmospheric effects like fog and mist are often present. These natural layers not only enhance depth but also bring a sense of tranquility and mystery to the image.
Building Depth for Compelling Visual Stories
Mastering layering in photography is all about capturing moments with a sense of presence, taking viewers on a visual journey from the surface to the soul of the scene. By thoughtfully structuring layers, using natural frames, leveraging perspective, and playing with texture and contrast, you can transform a flat image into a rich, immersive story.
As you practice these techniques, remember that layering is as much about what you include as what you leave out. Allow each element to have purpose and presence. Through intentional layering, you’ll create not just a photograph, but an experience—one that encourages viewers to linger, explore, and connect with the story your image tells.
0 Komentar